For those of us who love to kick back with a joint or a bowl, a grinder is as essential as the weed itself. But anyone who uses a grinder knows that over time, it can get pretty gunked up. This sticky buildup can make your grinder tough to use, and it's a bit of a waste too – because that residue is full of THC, the stuff that gives weed its kick.
But, don't worry. You can clean your grinder and save all that good kief without losing your chill. Here's your easy-to-follow guide.
What is a grinder exactly?
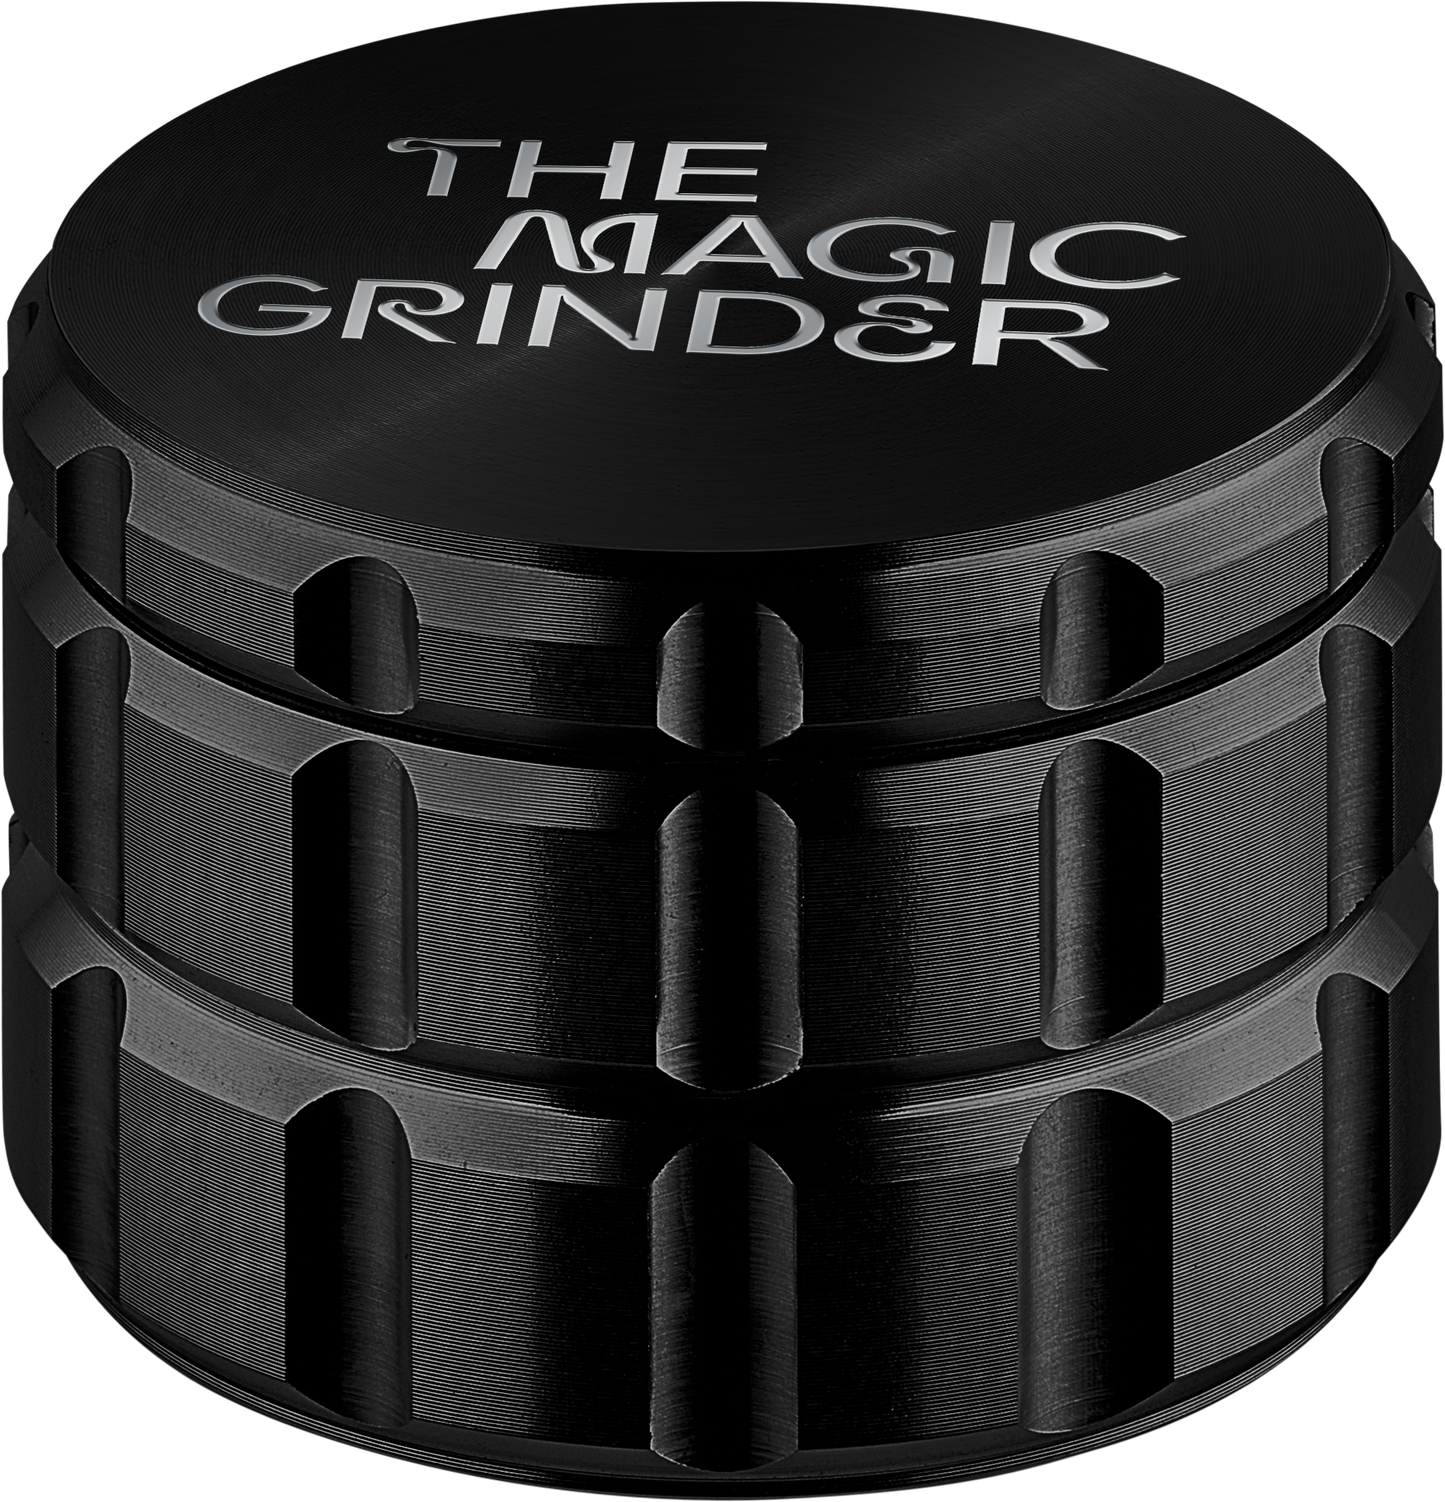
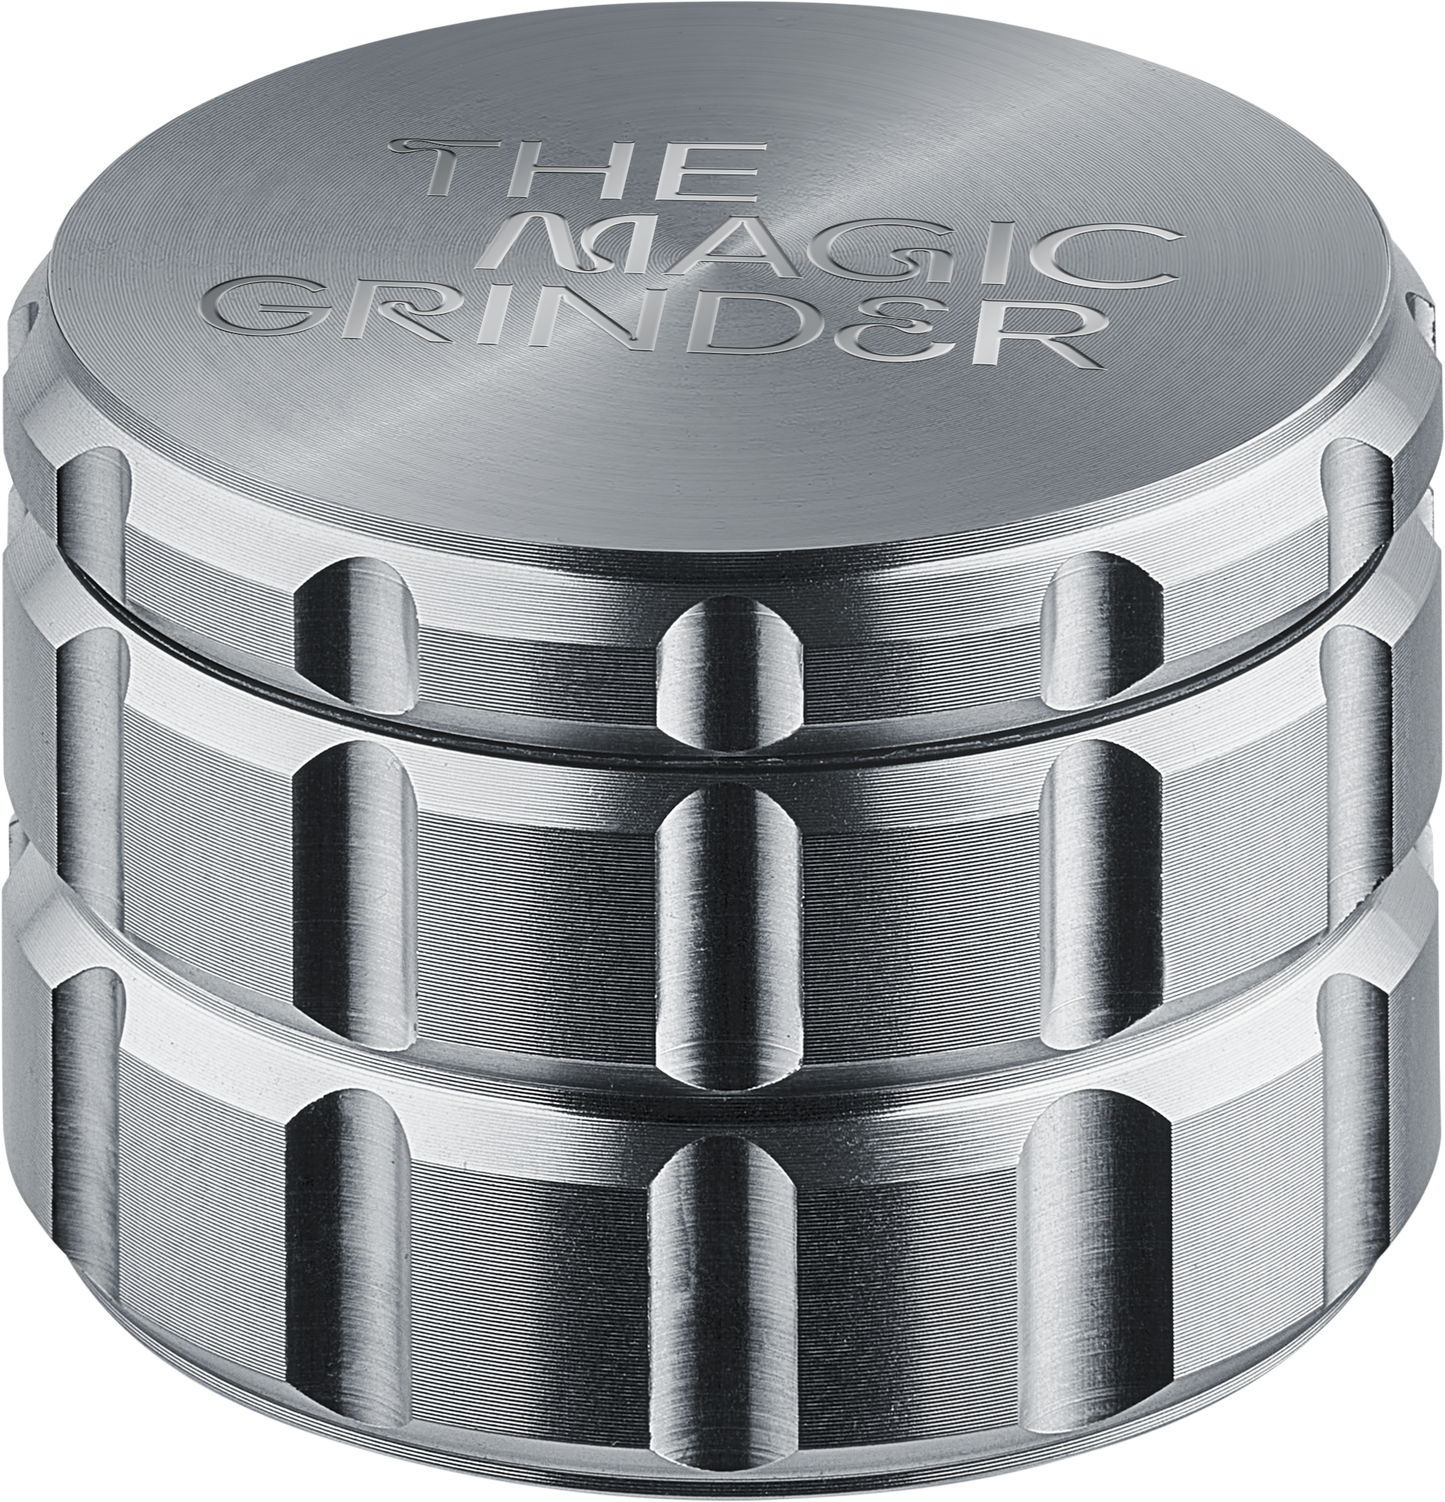
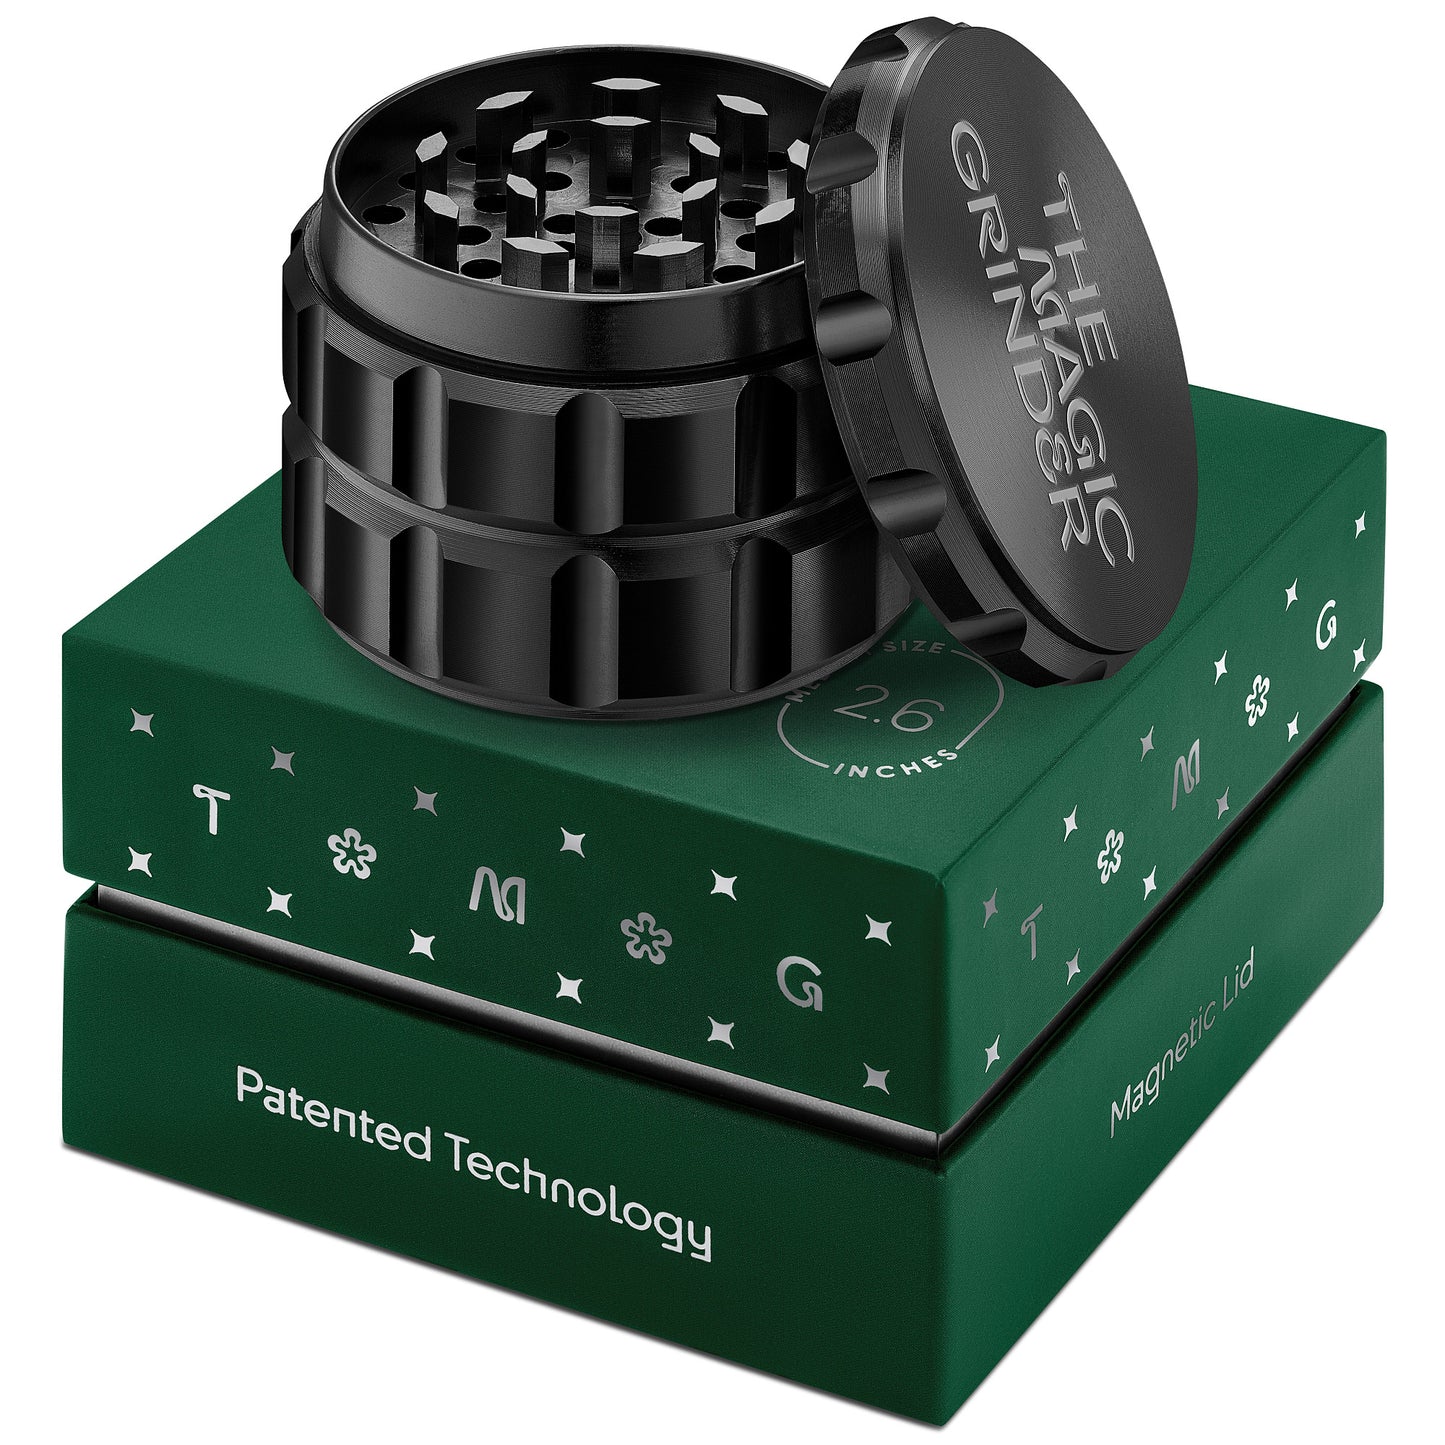
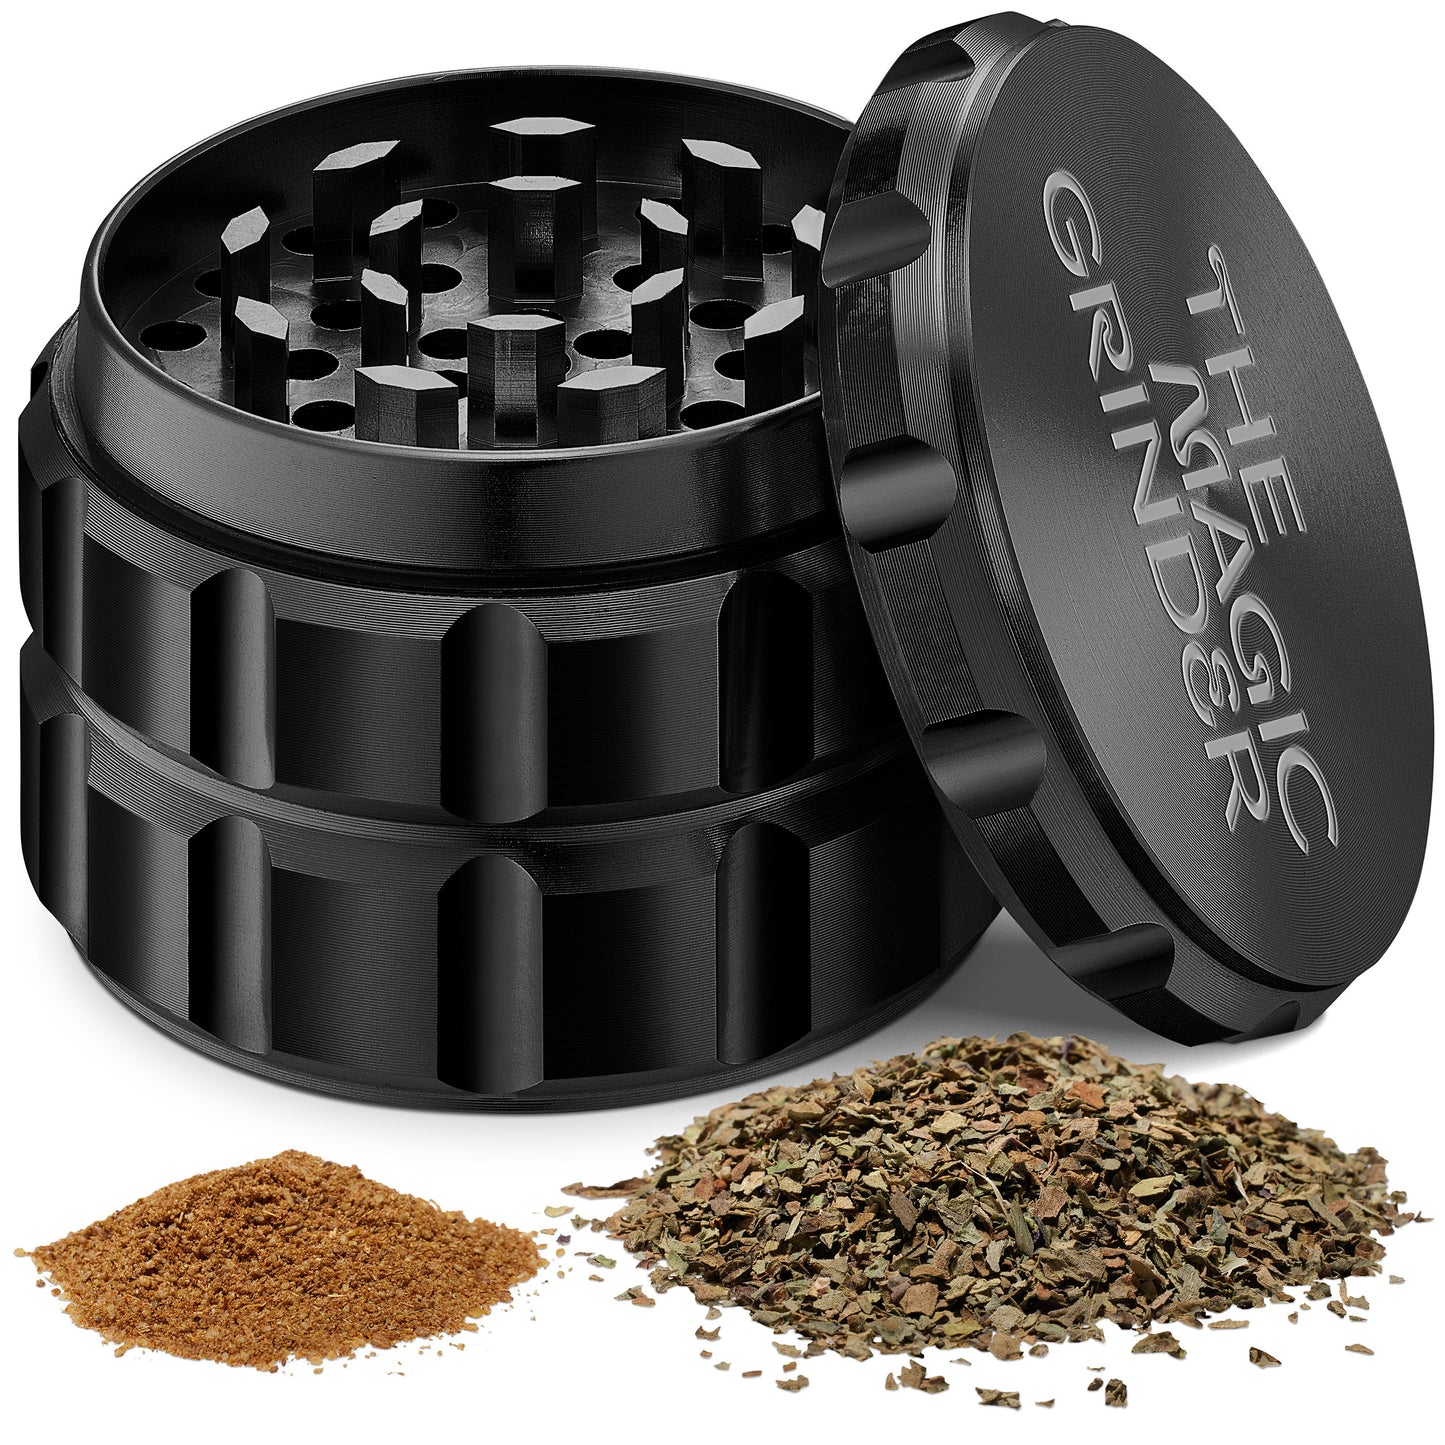
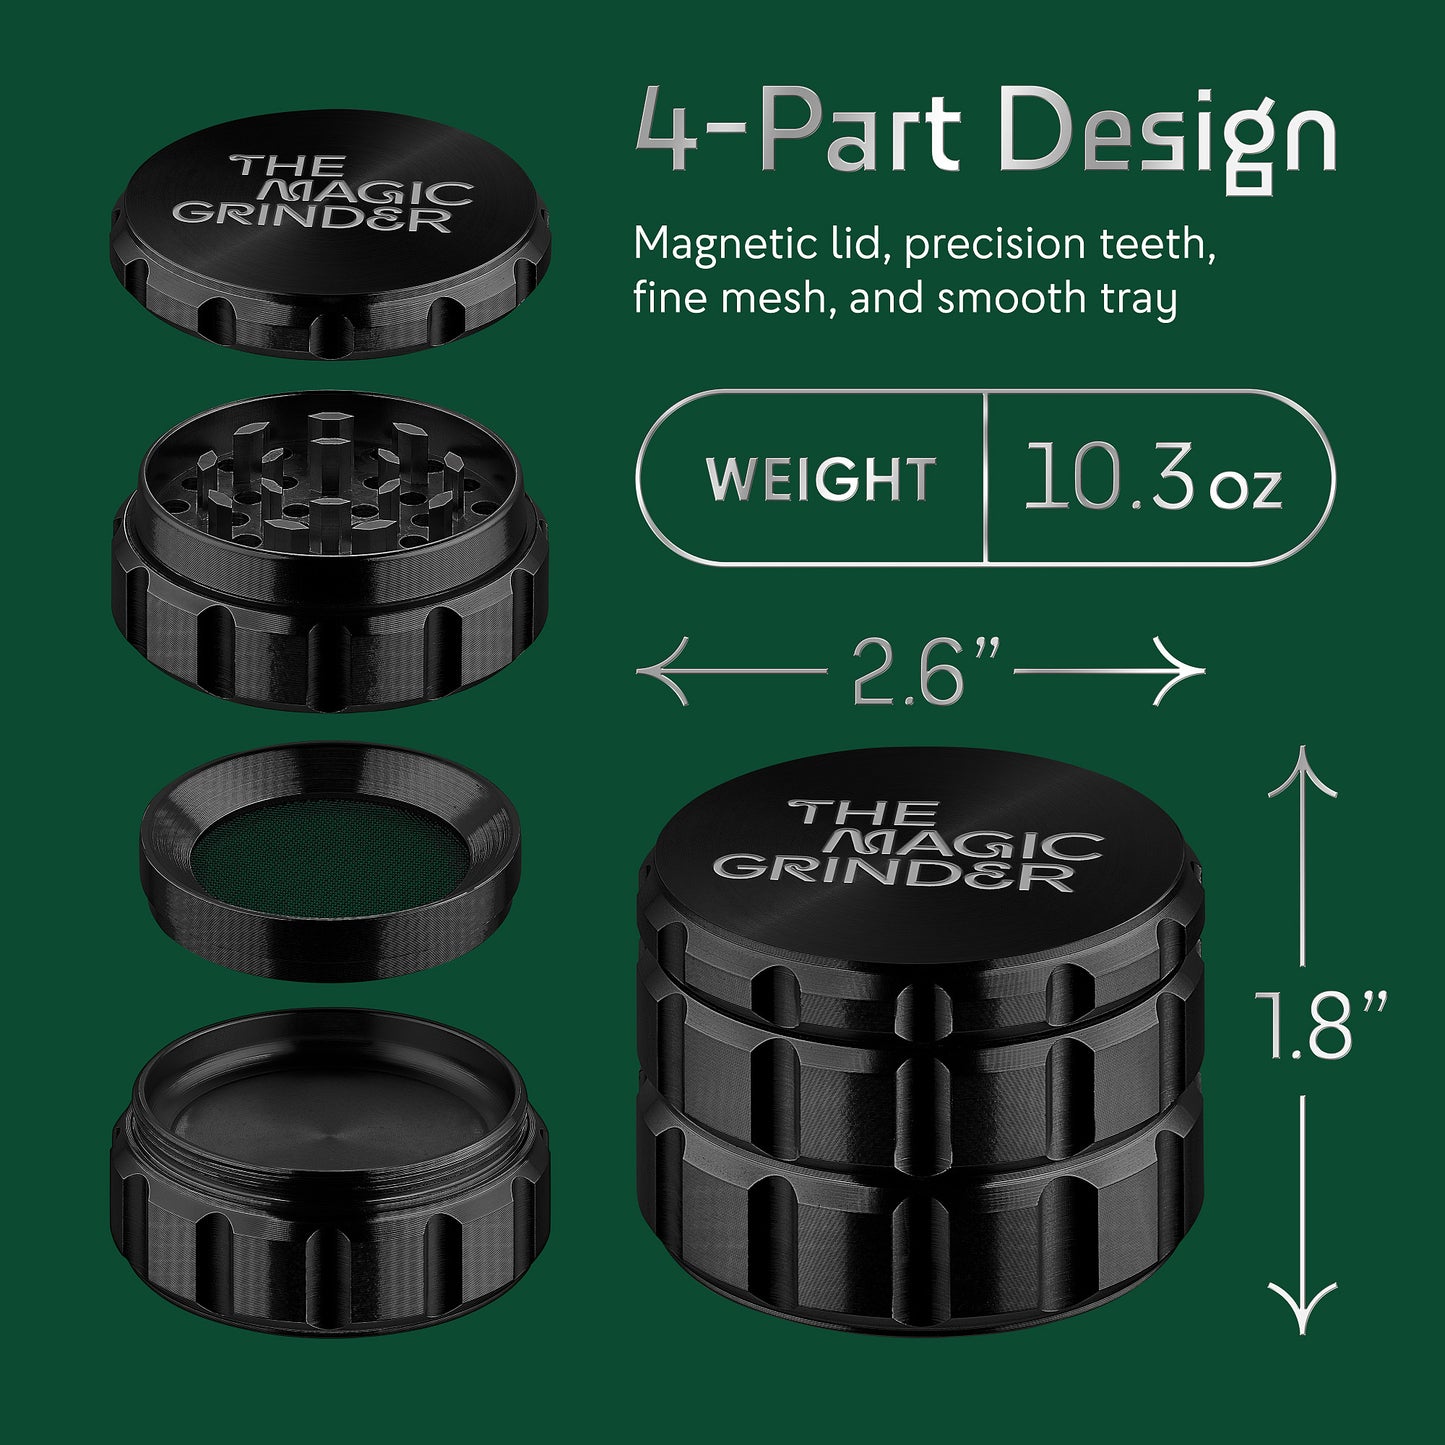
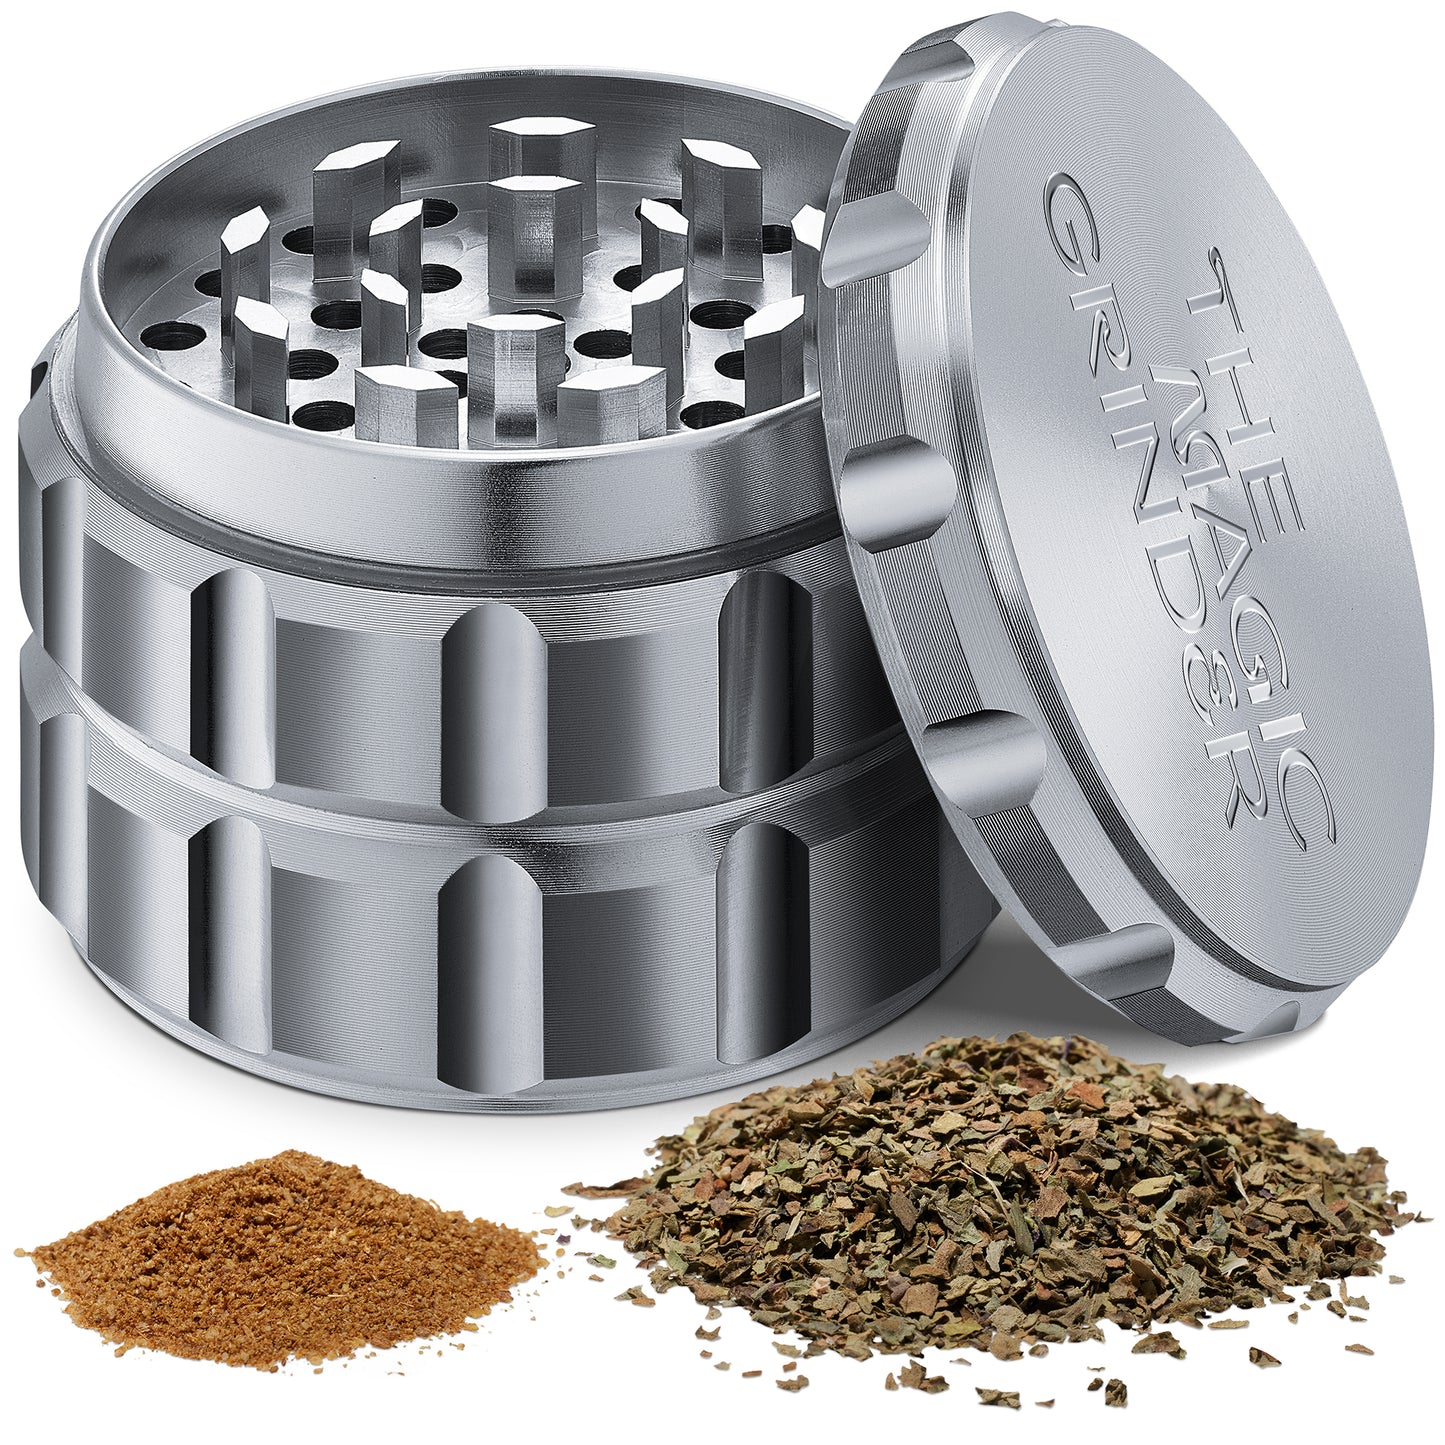
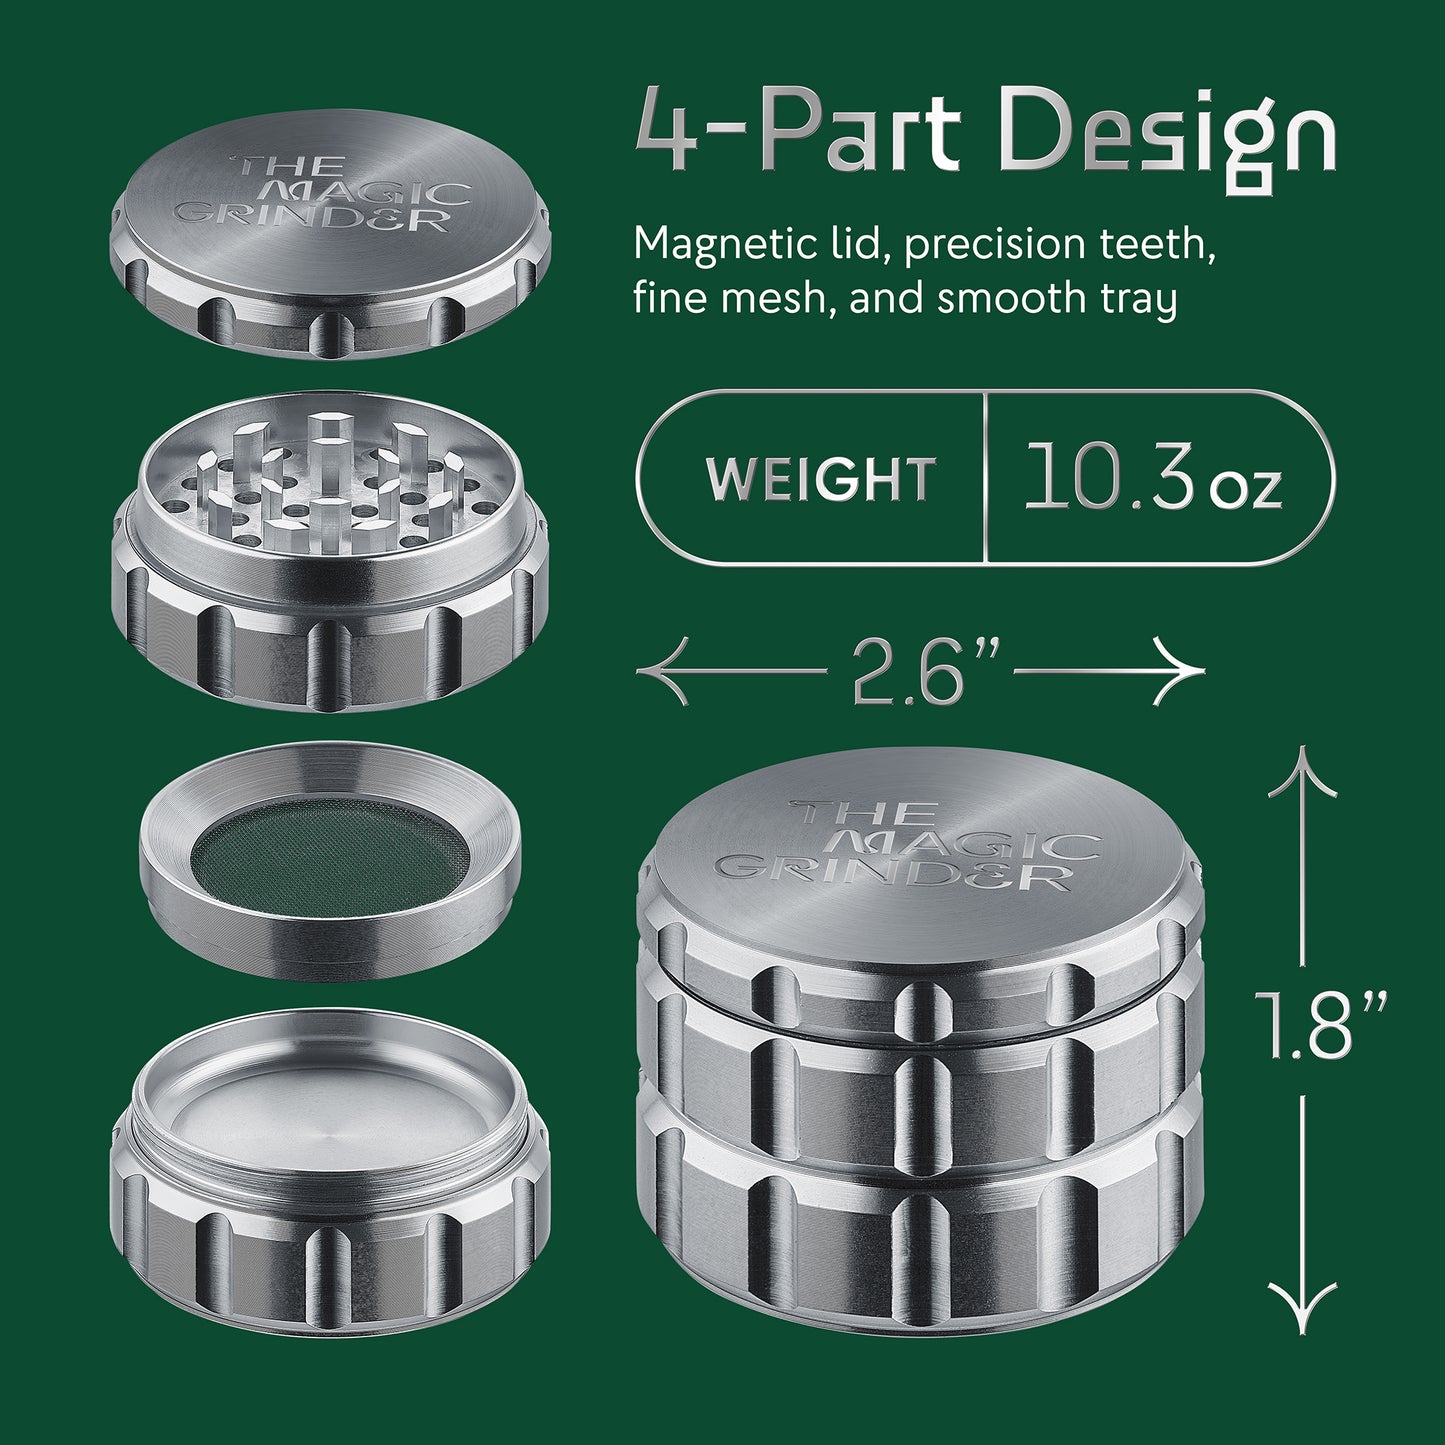
Before we dive in, let's get to know our grinder a little better. It's a simple tool, usually round, made of two halves with sharp teeth (two parts for the cutting, some grinders are 4-piece ones, like the The Magic Grinder for example). You put your weed in, twist the two halves against each other, and voila – your buds are broken down into small, smokable pieces.
The best part? Many grinders have a chamber at the bottom that catches the dust-like particles known as kief. This stuff is like the icing on the cake - super potent and perfect for adding a little extra something to your joints or bowls.
Knowing What You're Working With: Grinder Types
The first thing to consider before cleaning your grinder is what it's made of. There are three main types: plastic, metal, and automatic.
● Plastic or acrylic grinders are usually the cheapest. They do the job, but they also get sticky pretty quickly. They're not ideal for heavy cleaning since they can crack or warp if you're not careful.
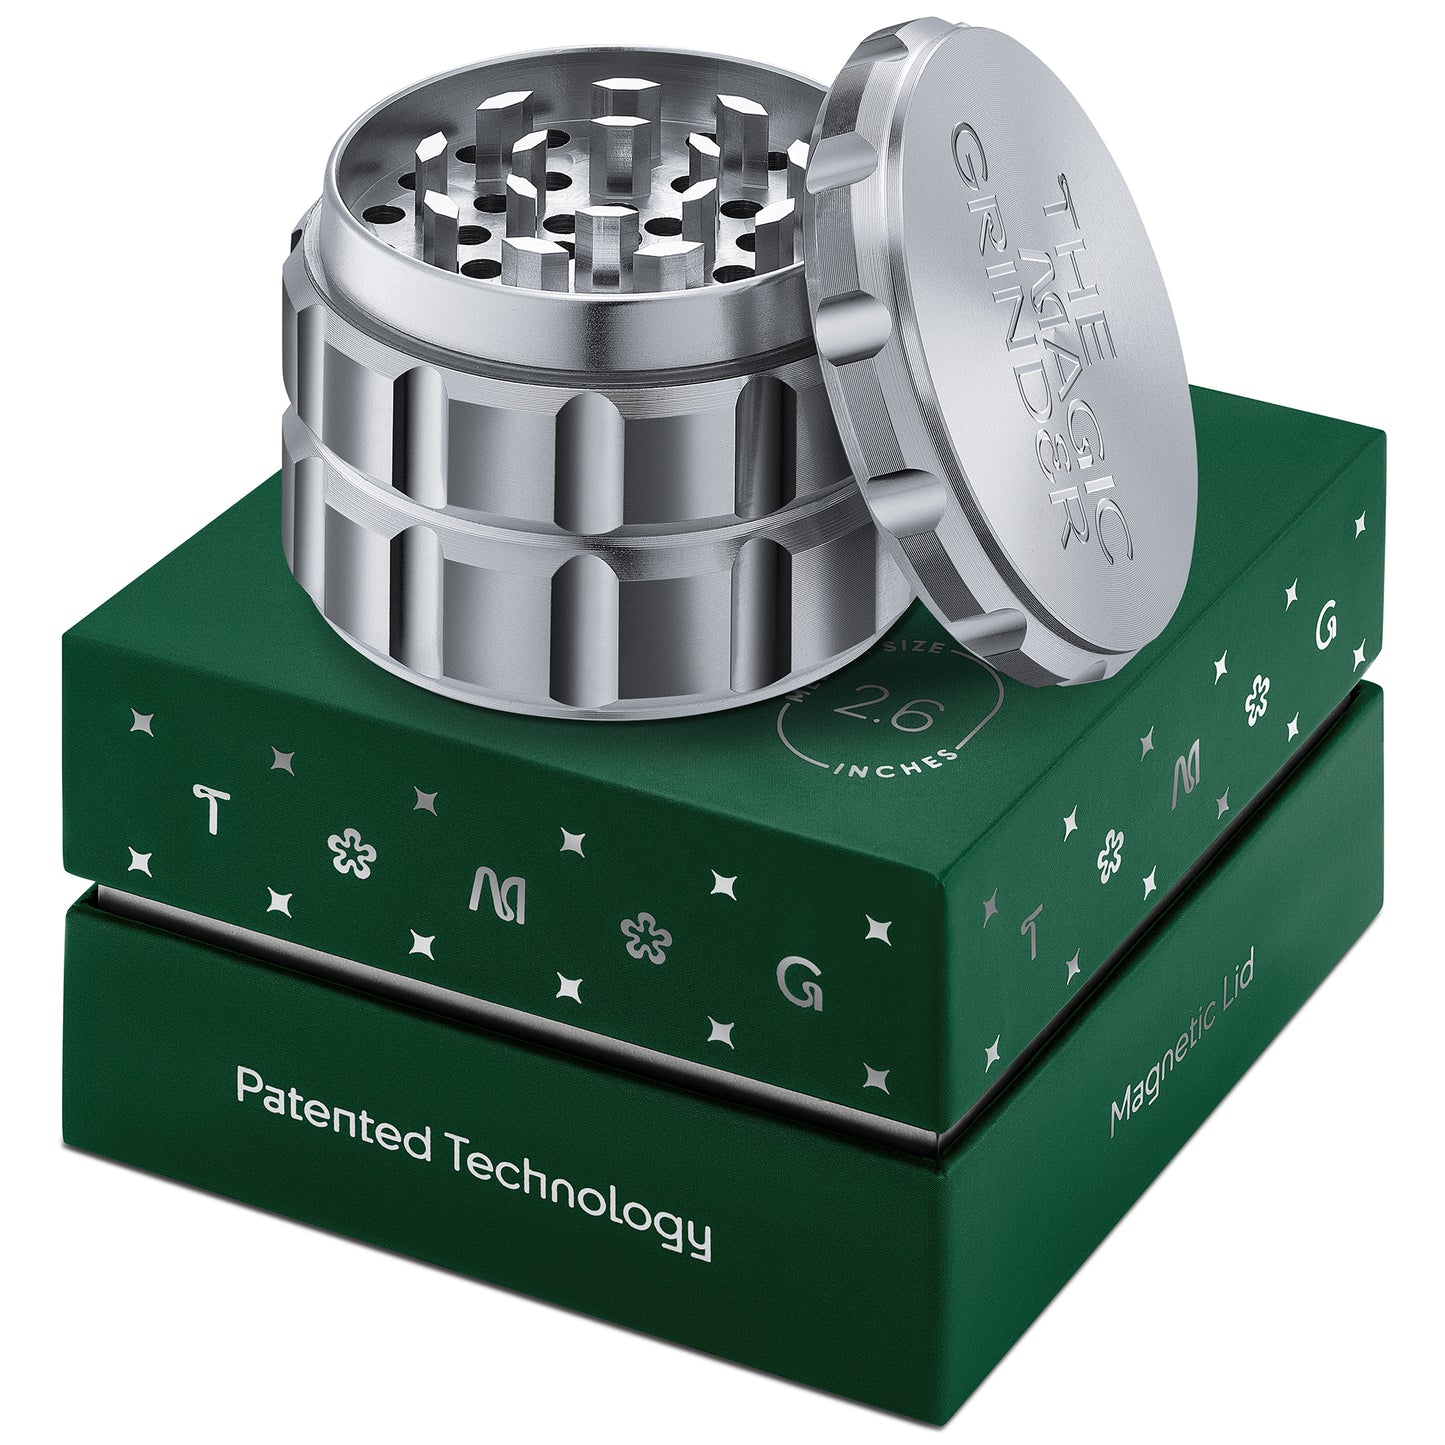
● Metal grinders are more robust and generally better for regular users. They can handle a good cleaning, and they often come with a kief-catching chamber, like TMGrinder does. Nice!
● Automatic grinders are pretty rare, and they're a mixed bag. They grind your weed for you at the push of a button, which is cool. But when they get clogged up, they can be a real headache to clean.
Methods of Cleaning Your Grinder
Now that we know almost everything we need to know about grinders, it is time to move on to the most popular cleaning methods. Remember, not every method fits every grinder; therefore, use common sense and the tips we provide here to make the right decision.
Quick and Easy: The Brush and Blade Method
If you're not a fan of deep cleaning, this is the method for you. All you need is a small brush (a toothbrush or a paintbrush will do) and a small, sharp object like a razor blade or a craft knife. Just brush away any loose bits, and then carefully scrape off any sticky stuff. easy and quick, but remember to be careful not to cut yourself.
Cool Down: The Freezer Method
This is a popular trick. The idea is to make the sticky residue brittle so it breaks off easier. Just take apart your grinder, pop it in a freezer-safe bag, and leave it in the freezer for about 30 minutes.
Once it's nice and cold, give it a few good taps on a hard surface to knock the brittle stuff loose. But remember, the moment you touch it, your grinder starts warming up again, and that sticky stuff goes back to being, well, sticky.
Deep Dive: Rubbing Alcohol Soak
For those grinders that are really caked up, you might need something a bit stronger. That's where rubbing alcohol comes in.
Take apart your grinder and put the pieces in a bowl. Then, pour enough rubbing alcohol in to cover them. Let it sit for about 10 minutes. You can give it a swish every few minutes to help things along.
After the soak, take the pieces out with a pair of tongs and let them dry. Don't rinse them off – as the alcohol evaporates, it'll leave behind the THC from the residue. You can scrape this off once it's dry and add it to your stash.
A Tasty Clean: The Milk Method
Here's a fun one: cleaning your grinder and making an edible at the same time. Fill a pot with enough whole milk to cover your grinder pieces and heat it on the stove over low heat. Add your grinder pieces and let them simmer for an hour or so.
Keep a close eye on it and don't let it boil. After an hour, strain the milk to remove the grinder pieces. Rinse them off, and you're done. As for the milk, you've just made a THC-infused treat. Use it in your coffee or in a recipe, and enjoy.
The Vinegar Method
Regular household vinegar can also do wonders for your grinder. It's great for breaking down those stubborn bits of residue. Disassemble your grinder and put the pieces in a bowl. Pour in enough vinegar to cover the pieces and let them soak for about 30 minutes to an hour. After soaking, use a soft brush or a toothbrush to scrub off any remaining residue. Rinse the pieces thoroughly under warm water and let them dry completely before reassembling.
Please note: this method may not be suitable for plastic or acrylic grinders, as vinegar can cause them to warp.
The Simple Dish Soap and Water Trick
This is a simple, gentle method that works well for lighter buildup. Disassemble your grinder and place the pieces in a bowl. Fill the bowl with warm water and a few drops of dish soap. Let the pieces soak for about 15-20 minutes, then use a toothbrush to scrub away any residue. Rinse thoroughly under warm water and let dry completely before reassembling.
The Toothpick Method
If you're dealing with hard-to-reach areas, a toothpick can be a handy tool. Disassemble your grinder and use a toothpick to gently scrape off any stubborn residue. This method can be time-consuming, but it's a good option if you're trying to avoid using liquids or chemicals on your grinder.
The Denture Tablets Method
Yes, you read that right. Denture cleaning tablets can be quite effective at cleaning grinders. Disassemble your grinder and place the pieces in a bowl. Fill the bowl with warm water and drop in one or two denture cleaning tablets. Let the pieces soak for about 15-30 minutes. The effervescence of the tablets will help loosen the residue. After soaking, give the pieces a good rinse under warm water and let them dry completely before reassembling.
Remember, no matter which method you choose, always let your grinder dry completely before using it again. This will prevent any leftover moisture from causing mold or mildew to grow. And of course, always be mindful of the material your grinder is made from, and avoid any cleaning methods that might damage it. Happy cleaning!
Conclusion
We covered a large number of methods to clean your grinder; now it’s up to you to choose the method that suits you the best. It’s important to add that the best type of grinders are metal ones, as they are more durable and can be cleaned in different ways without damaging their functionality.
TMGrinder manufactures and sells high-quality metal grinders that come with a patented technology that reduces the need for cleaning thanks to its unique shake-and-bake technique that allows you to shake the metal ball and collect all the kief in a few seconds only. Still not sure? Check out the unique features of our grinder that comes with 1-year warranty!
FAQs About Grinder Cleaning
-
Do I really need to clean my grinder?
If you want to keep your grinder as fresh as it was on day 1, it is recommended to take care of it and clean it. A clean grinder always works better.
-
How often should I clean my grinder?
The answer to that question really depends on your usage frequency. We recommend cleaning your grinder as soon as you feel that grinding becomes more difficult.
-
Are there cleaning ways that let me keep the kief?
Sure, there are! Refer to the list of methods we listed above.
-
How to clean a wood grinder?
When cleaning a wood grinder, avoid using any liquids. The best way to clean a wooden grinder would be to use a brush.
-
Can I put my grinder in the dishwasher?
The answer to this question depends on the statement of the manufacturer of your grinder. Don’t risk your grinder without being 100% sure.
-
Can I use a toothbrush to clean the grinder?
Indeed! It is one of the best “dry” methods of cleaning a grinder.


